
Task 2: Create the Digital Graphic Product
Build the final product in Photopea/Canva and record your build process.
Keep your Project Log updated
Screenshot as you work
Link back to brief + audience
Product Creation
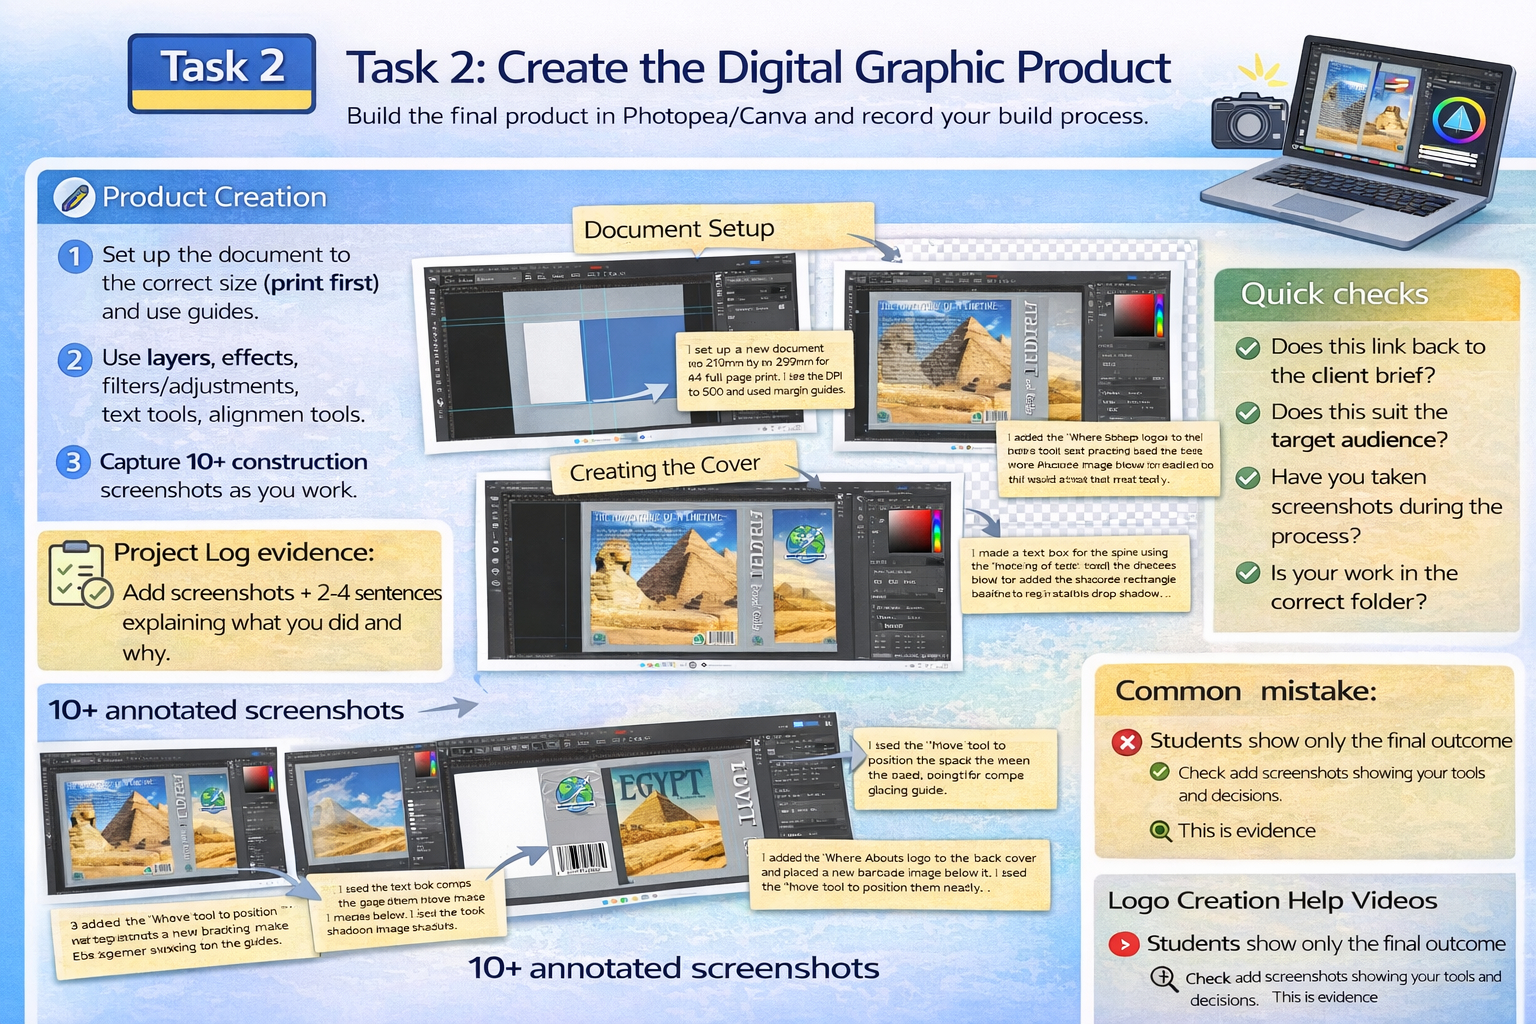
- Set up the document to the correct size (print first) and use guides.
- Use layers, effects, filters/adjustments, text tools, alignment tools.
- Capture 10+ construction screenshots as you work.
- Annotate each screenshot (tools + decisions + link back to brief and visualisation).
Project Log evidence:
Add screenshots + 2–4 sentences explaining what you did and why. If it isn't in the log, it doesn't exist.
Quick checks
- Does this link back to the client brief?
- Does this suit the target audience?
- Have you taken screenshots during the process?
- Is your work saved in the correct folder (Task 1 / Task 2)?
Common mistake:
Only adding the final outcome. Marks come from your process and explanations.
Photopea Support Video Library
Open these videos in a new tab and follow along while you build your product in Photopea.